Camping Gear Beginners Overbuy: What Really Matters
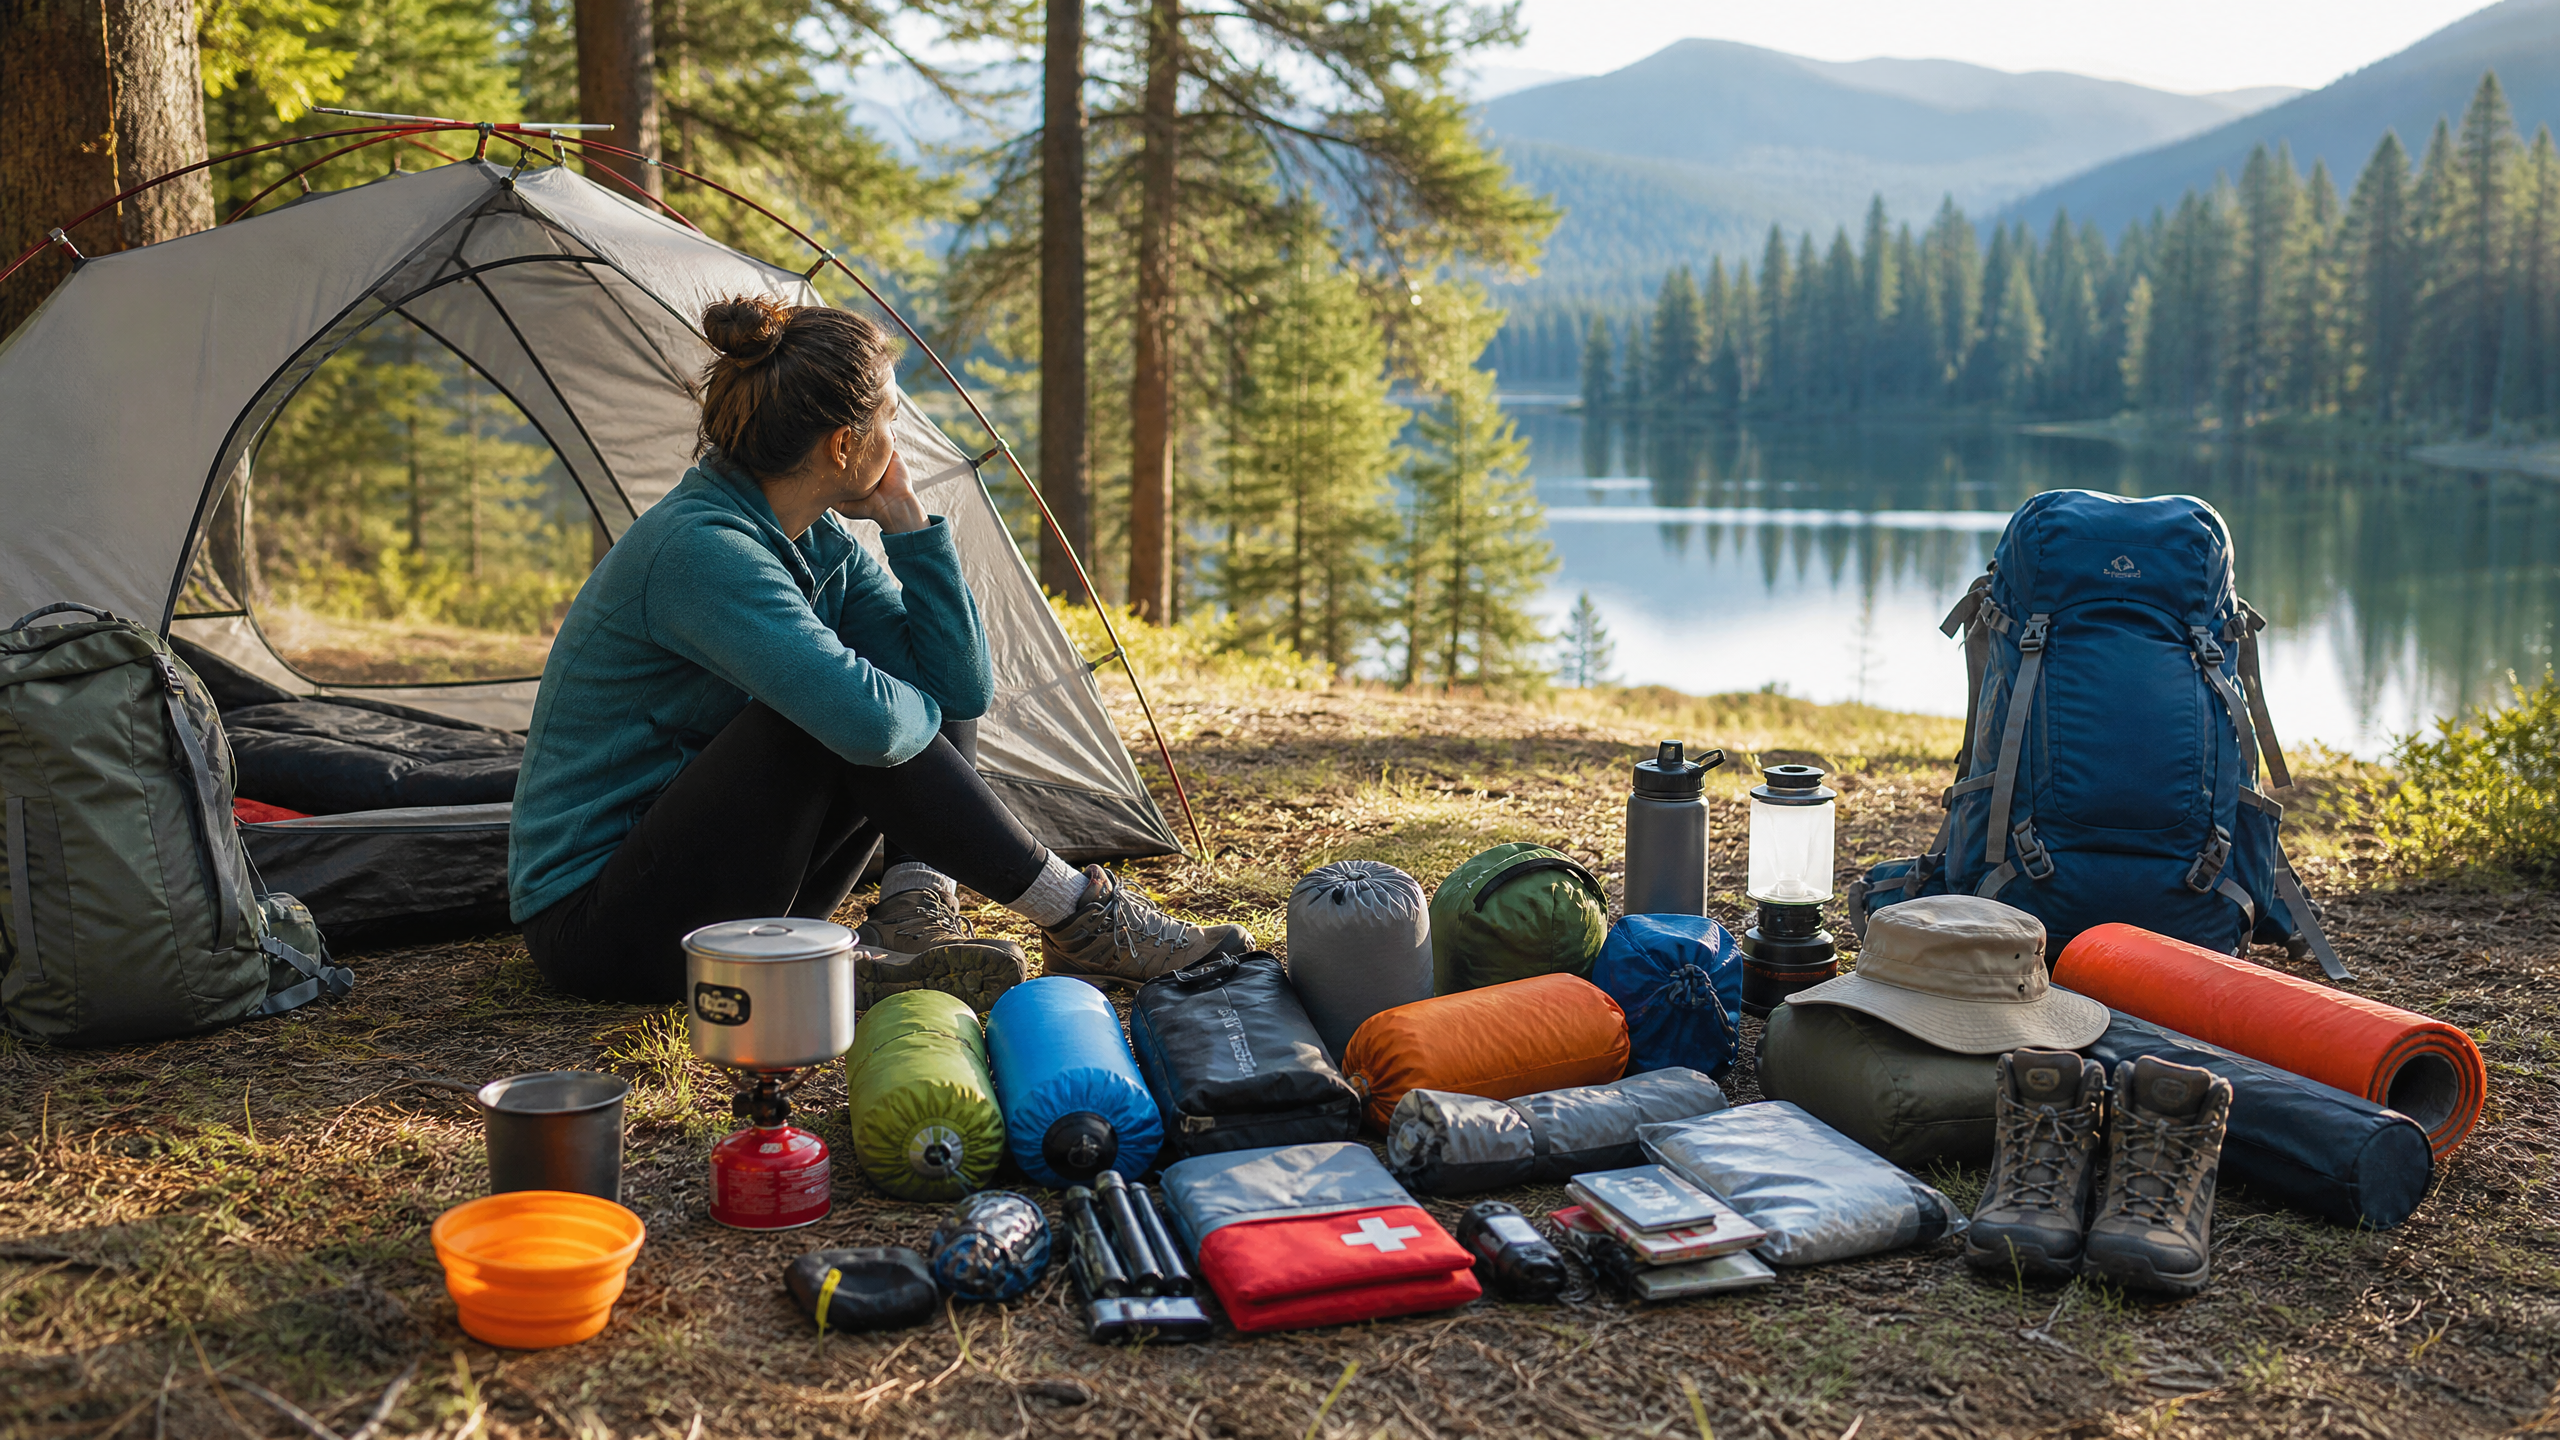
Why New Campers Over‑Equip
Walking into a gear aisle for the first time can feel like stepping into a high‑tech showroom. Bright banners promise "best‑in‑class" performance, and the impulse to buy the biggest, most expensive version of every item is strong. The reality on the trail, however, tells a different story. Over‑buying adds weight, cost, and complexity without delivering a proportional boost in comfort or safety. The key is to match equipment to the specific conditions of your trip, the length of your stay, and your personal comfort thresholds.
Tent Size: Bigger Isn't Always Better
One of the most common over‑purchases is an oversized tent. Many beginners opt for a three‑person model for a solo or two‑person weekend, assuming the extra space will be useful. In practice that extra fabric adds 1–2 kg (2–4 lb) and can increase set‑up time by 30‑40 percent.
Field tests by retailers like REI and user forums consistently show that a well‑ventilated two‑person tent with a floor area of 30–35 sq ft provides ample headroom and storage for two people plus gear, while staying under 4 lb. For three‑person trips, a lightweight freestanding design that folds into a compact footprint beats a bulkier cabin‑style model that often weighs 7–8 lb. The takeaway? Choose a tent that matches the number of sleepers, not the amount of "potential" space you think you might need.
How to Size Your Tent
- Solo trips: 1‑person or compact 2‑person tents (30‑40 lb total pack weight).
- Two‑person trips: standard 2‑person tents, 30‑35 sq ft floor area.
- Three‑person trips: lightweight 3‑person tents with freestanding poles, avoid cabin styles unless you need extra interior volume for gear.
Sleeping Bag Temperature Ratings: Read the Fine Print
Manufacturers list three ratings—comfort, lower limit, and extreme—based on a standardized test that assumes a well‑insulated sleeping pad, dry conditions, and a rested adult. Beginners often buy a bag rated for 20 °F (‑7 °C) for a summer trek in the Appalachians, ending up with a heavier, pricier bag they never need.
The American Alpine Club’s data shows that for temperatures between 45‑55 °F (7‑13 °C), a 40‑gram synthetic bag or a 200‑gram down bag is sufficient, saving 0.5‑1 lb per bag. Remember that the insulation‑to‑weight ratio matters more than the absolute temperature rating, and a quality sleeping pad often contributes more to warmth than a marginally higher rating.
Practical Tips
- Check the expected night‑time temperature for your destination.
- Match the bag’s comfort rating to that temperature, not the lower‑limit rating.
- Pair a lighter bag with a high‑R-value sleeping pad for the best warmth‑to‑weight balance.
Cooking Gear: Streamline for the Trail
A full kitchen set—large stove, multiple pots, a separate coffee maker, and a heavy cast‑iron skillet—looks impressive but is overkill for most 2‑3‑day trips. Data from the National Outdoor Leadership School (NOLS) shows that eliminating a second pot reduces pack weight by 0.8 lb and cuts fuel consumption by 15 percent because the stove runs at lower pressure when heating a smaller volume. Check it out here.
As an Amazon Associate, we earn from qualifying purchases.
A single‑burner canister stove (80‑120 g) paired with a 1‑liter titanium pot and a collapsible silicone bowl covers roughly 90 percent of meals on a short trip. Look for multi‑use items: a pot that doubles as a bowl, a lid that works as a skillet, or a spice kit that nests inside the pot’s lid.
Essential Cooking Kit
- Stove: 80‑120 g canister model (e.g., MSR PocketRocket).
- Pot: 1 L titanium (≈ 100 g).
- Collapsible bowl or cup (≈ 30 g).
- Lightweight fire‑starter (magnesium rod or ferrocerium striker).
Backpack Capacity: Size to Load, Not to Ego
Many first‑time hikers are drawn to the “big pack” label—70 liter or larger—thinking more volume equals more preparedness. In reality, most weekend trips involve 15‑20 lb of gear, which fits comfortably in a 30‑35 liter pack with room for a hydration bladder and a small daypack.
Oversized packs create a bottom‑heavy loading profile, increasing strain on the hips and lower back. The University of Colorado’s ergonomics lab found that a correctly sized pack reduces sway by 25‑30 percent and improves walking efficiency by 8‑10 percent over long distances.
Choosing the Right Capacity
- 1‑night trips: 20‑25 L.
- 2‑3 night trips: 30‑35 L.
- 4+ night trips: 40‑45 L (consider external attachment points for gear).
Multi‑Tools vs. Specialized Tools
The classic Swiss‑army‑knife is marketed as the ultimate solution, yet many of its tiny components—scissors, bottle‑opener—are rarely used in the field. A dedicated pocketknife with a 3‑inch carbon‑steel blade and a separate lightweight fire‑starter weighs less than an 8‑component multi‑tool that can add 0.6 lb to the pack.
Field surveys on Backpacking Light rank a single reliable knife in the top three essential items, while multi‑tools rank lower than 60 percent of respondents. The lesson is clear: prioritize reliability and weight over “everything in one.”
Minimal Tool Kit
- Pocketknife (≈ 90 g).
- Fire‑starter (magnesium rod, ≈ 30 g).
- Optional small screwdriver set (≈ 20 g) if you frequently use modular gear.
Lighting: One Light Can Do the Job
Beginners often buy both a high‑lumens headlamp and a bulky lantern, assuming they need both. Modern headlamps with 200‑lumens LEDs and rechargeable batteries provide enough light for campsite tasks and night navigation. A compact lantern (≈ 100 lumens, collapsible) can serve as a backup for group meals, but it’s rarely essential.
The International Dark‑Sky Association reports that a focused headlamp reduces overall power draw by 40‑50 percent compared with a wide‑area lantern, extending battery life from 10 hours to 30 hours on a single charge.
Recommended Lighting Setup
- Primary: 200‑lumens rechargeable headlamp (≈ 80 g).
- Backup: Small 100‑lumens collapsible lantern (≈ 150 g) or an extra set of headlamp batteries.
Common Misconceptions to Debunk
- "Bigger is better": Oversized tents, packs, and stoves add weight without proportional benefit.
- "Higher temperature rating means you’ll stay warmer": Insulation effectiveness depends on the whole system—bag, pad, and clothing.
- "Most expensive gear always outperforms cheaper alternatives": For basic needs, well‑designed budget options often match or exceed premium models.
Smart‑Spending Guide for Beginners
By focusing on functional performance, weight efficiency, and trip‑specific needs, beginners can avoid costly mistakes, travel lighter, and enjoy a more authentic outdoor experience. Here’s a quick checklist to keep in mind when you’re planning your next adventure:
- Define the trip’s duration, expected weather, and terrain.
- Choose gear that meets those specific conditions—no more, no less.
- Prioritize weight‑to‑performance ratios over brand hype.
- Test gear on a short local outing before committing to a full purchase.
- Remember that a well‑chosen sleeping pad, proper layering, and good campsite management often outweigh a marginally higher‑rated bag or tent.
With these principles in hand, you’ll find that the “right” gear is often the simplest, lightest, and most versatile option—allowing you to focus on the real reward of camping: the sights, sounds, and freedom of the great outdoors.